Drift Car Motor
I started this post as a draft a while ago so going back and editing it is going to be fun. Edits after this point will be in Italic
I’m So stoked about this motor. It’s no LS or or 2JZ but it’s gonna be clean and boostable and I think that’s cool as heck.
Here it is coming out of the 5 series we found it in, and home with me.


The Plan
The motor is an M52B28, so a square 2.8 liters (84mm stroke, 84mm cylinders).
I’m planning on boosting less than 20 pounds eventually, and on some research I think my pistons and rods will hold up well enough.
They absolutely will not. Maybe 6 or 7 pounds. But I likely will be going a different power adder route in the future
So this leaves me with bearings, and as I’ve never pulled out normal bearings without burn marks, I’m opting for Achilles coated bearings and all ARP hardware to make sure my crank and rods stay where they’re supposed to.
I did of course get coated bearings from Achilles, but I opted only for arp crank studs as I am going to have to change the rods if and when I get to bigger boost numbers anyways. Might go back and forth between motor swaps
After some machine work and new rings, that completes the short block. The head is going to get tested, and the Vanos rebuilt, and that’s a long block to start and get on the track with.
Once the car has been through it’s paces, it’ll be time to start getting parts to boost with. I can’t decide if I want to go super or turbo, or if I want to go frankenstein or kit it out, but it’s getting boost and it will be fun 😀
It probably will not get boost for quite a while, updates on that later. The block did get it’s ring job, and went together smoothly. The head ended up with a valve job, and I did my classic Vanos rebuild. The cam studs gave me a lot of trouble, and I ended up time serting a handful of them (don’t remember how many. That wasn’t fun)
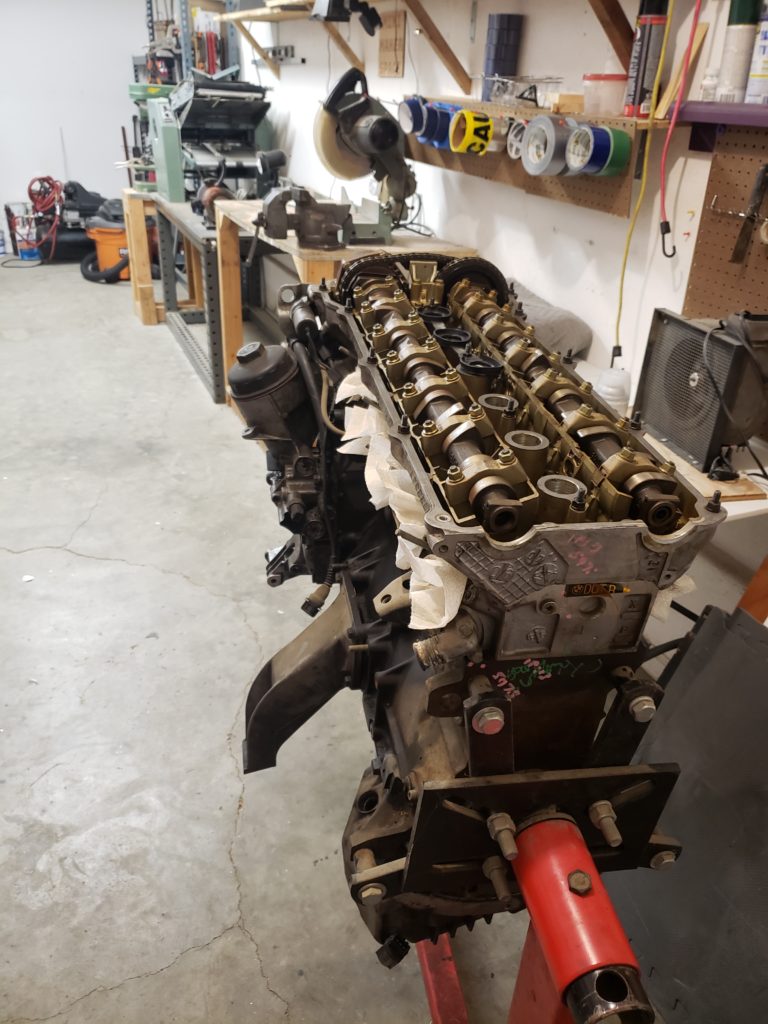
Splitting the Long-Block Apart
The head looked great under the valve cover, before I let the cams grow a little rust. And as usual pretty heavy marring on the exhaust side cam. The vanos was troublesome as always to pop off, but the head came without much complaint. My hopes for the cylinder walls were validated by great looking cross hatching, and no wear bump above the rings. There was a lot of carbon build up, which leads me to believe there must have been a CEL on LoL. But no matter, it seems the motor was otherwise well taken care of, and my buddy says he thinks there was over 200k miles on the car we pulled it from in the yard. I remember it being lower than that, but it looks alright.
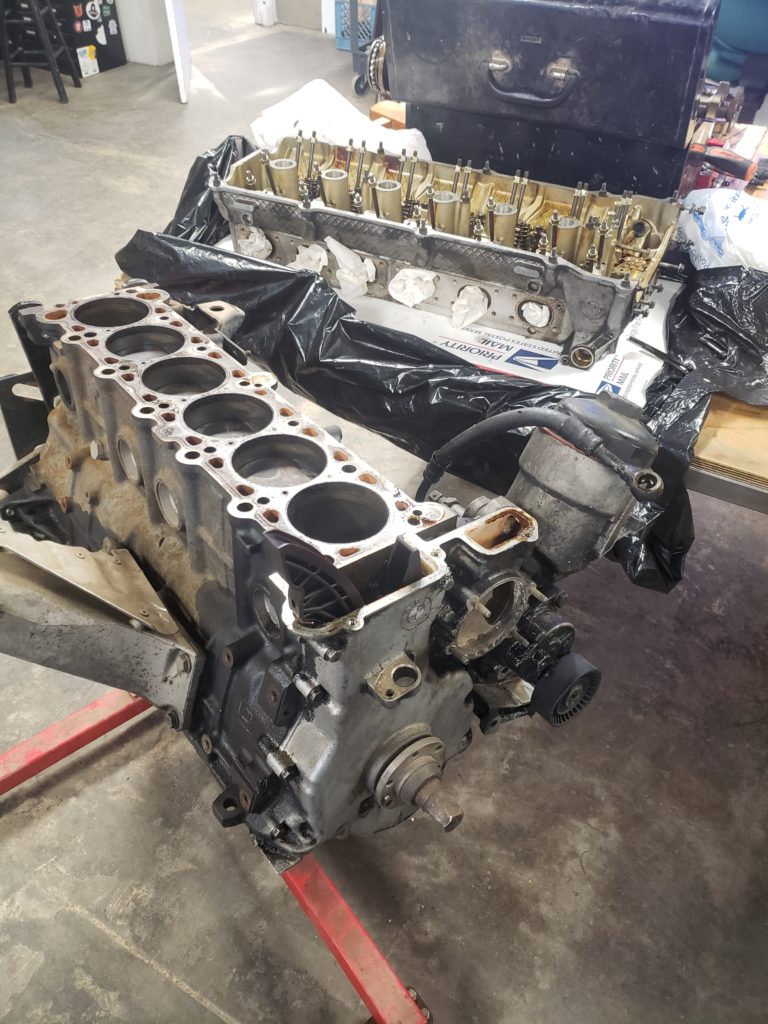
Block Teardown
With that out of the way it’s time to pop the oil pan off and get to work on getting the crank out. This has proved, of course, to be the most troublesome because of none other than the good old god bolt. We tried the Milwaukee impact trick but that did not succeed in removing the 220ft-lb bolt off of the front of the crankshaft, which makes it hard to pop the front cover off which has a seal wrapped around the front of the crank of course. The rear main was happy to come loose but that will have to wait till we can get it off the stand. Stupid god bolt. Write more soon 😀
Putting it back together
I did all of the reliability mods that these motors require. I’m excited to share it’s journey, despite some changes in plans. Let’s get into it!
Here’s the crank going in. As usual I struggled to remember how I get the saddle bearings just right to get the end play happy on these. But it came out nice in the end. Just sending it with these pistons. I will probably bore the motor when I move towards boost.


Putting the head on
Putting the head on went so smoothly until I torqued the very last cam stud nut down and it stripped. I left the motor alone for a while, and even went to Europe for a time. (Projects take a long time lol)
When I got my courage together, I got some timeserts and carefully drilled out the stripped hole. On putting it back together I stripped another hole (I was using a 1/4″ torque wrench, this became scary). This happened a number of times more before I was able to torque every cam cap. Hopefully that doesn’t prove to be disastrous later.
When I rebuild a Vanos, I get some 3M liquid wax stuff, and I use it with a paper bag like sand paper to smooth the cylinder out a bit, sort of like an extremely light hone. Everything else is up to Besian Systems Vanos parts. I hadn’t done one in a while, and realized I didn’t have a left handed torque wrench. So I filled a bag with the appropriate weight in water. Hehe.
And that makes a long block! But I still. need a proper oil pan.


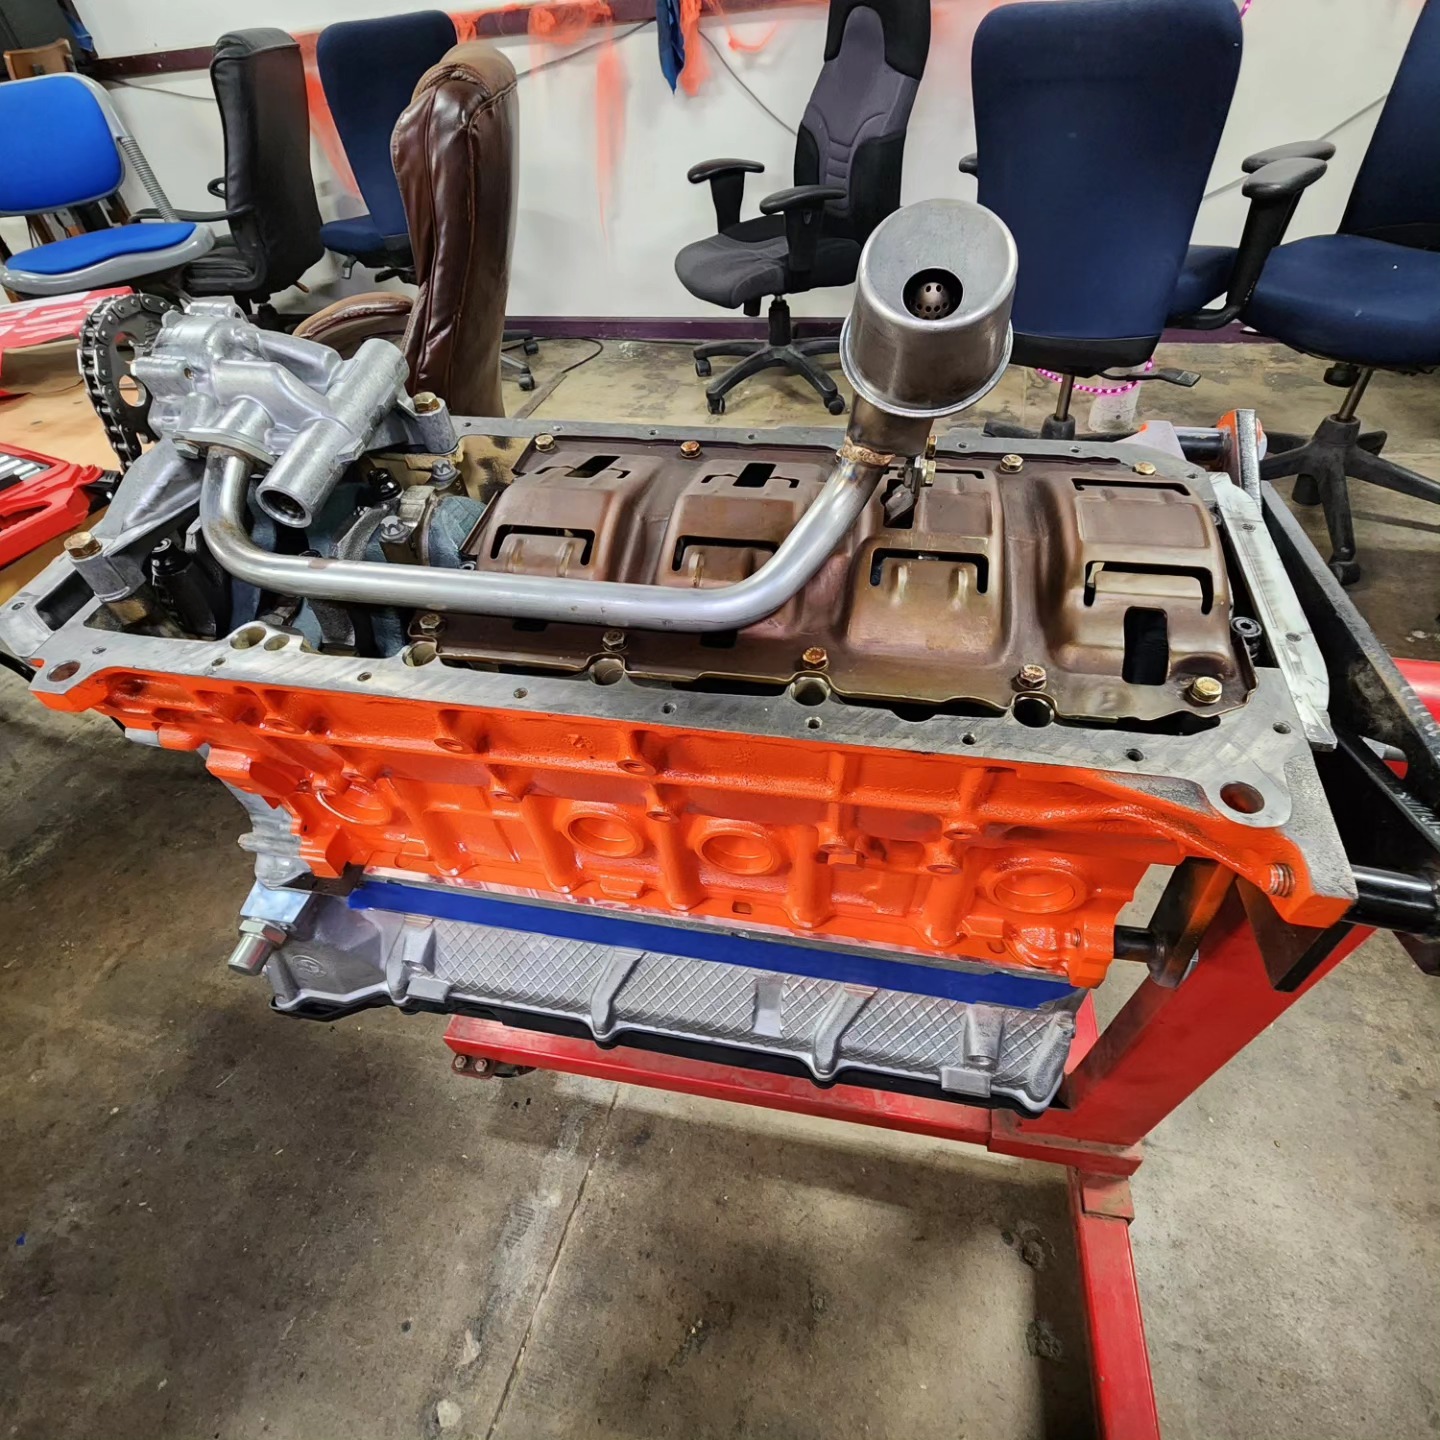
The Oil Pan
I forgot that I had taken the motor out of a 5 series when I tried to fit the oil pan baffles in. I went back to the yard and pulled a pan, and got the baffles installed. Then I tried to reinforce a pickup tube, but again forgot it was the 5 series tube (Forgetting also that I have two pickups from the E30 swap), and went ahead and bought the Achilles reinforced tube.


Time to Drop it in the Car!
This went poorly at first because (perhaps you’ll guess what’s coming) I forgot I had 5 series mounts and had to get the proper mounts. LoL But it’s finally in the car!

Thanks for reading! Follow along for more updates. I am building another motor for a phase 2 build, which will probably include a lot of updates at once.